
Your Expert Guide to Garage Door Installation
- COMMERCIAL GARAGE DOOR REPAIR
- GARAGE DOOR OPENER INSTALLATION
- GARAGE DOOR SPRING REPAIR
- SAME-DAY GARAGE DOOR REPAIR
- CUSTOM GARAGE DOOR
- GARAGE DOOR OPENER REPAIR
- GARAGE DOOR TRACK REPAIR
- GARAGE DOOR CABLE REPAIR
- GARAGE DOOR PANEL REPAIR
- LOCAL GARAGE DOOR REPAIR
- GARAGE DOOR REPLACEMENT
- NOISY GARAGE DOOR FIX
- GATE REPAIR
- GARAGE DOOR INSTALLATION
- GARAGE DOOR SECTION REPLACEMENT
- OVERHEAD GARAGE DOOR REPAIR
Your Expert Guide to Garage Door Installation
Installing a garage door is one of the most crucial steps to ensure the security and functionality of your garage. Whether you’re replacing an old door or installing one for the first time, it’s essential to get it right. A well-installed garage door not only protects your belongings but also enhances your home’s curb appeal. While DIY garage door installation might sound tempting, professional installation offers precise measurements, expert handling, and long-term reliability.
This guide will walk you through everything you need to know about garage door installation, from preparation to the final steps.
Preparing for Your Garage Door Installation
Choosing the Right Garage Door
Before installation even begins, selecting the right garage door is key. There are several types of garage doors to choose from, including sectional, roll-up, and side-hinged models. Each type suits different needs and garage structures.
Consider the material as well. Steel doors are durable and cost-effective, while wooden doors offer a classic aesthetic. If energy efficiency is important to you, invest in an insulated garage door to keep your garage temperature controlled year-round.
Measuring Your Garage Door Opening
Accurately measuring your garage door opening ensures a seamless fit. Follow these steps for precise measurements:
- Measure the width of the garage door opening from one side to the other.
- Measure the height from the floor to the top of the opening.
- Don’t forget to measure the “headroom” (space between the door opening and the ceiling) and “sideroom” (space next to the door tracks).
Double-check your measurements, as even a small error can lead to installation issues.
Essential Tools and Equipment
Before you get started, gather the necessary tools:
- Tools: Power drill, level, socket set, tape measure, and a wrench.
- Safety Gear: Always use gloves and safety glasses to protect yourself during the process.
Having the right supplies ensures efficiency and safety during installation.
Step-by-Step Garage Door Installation Process
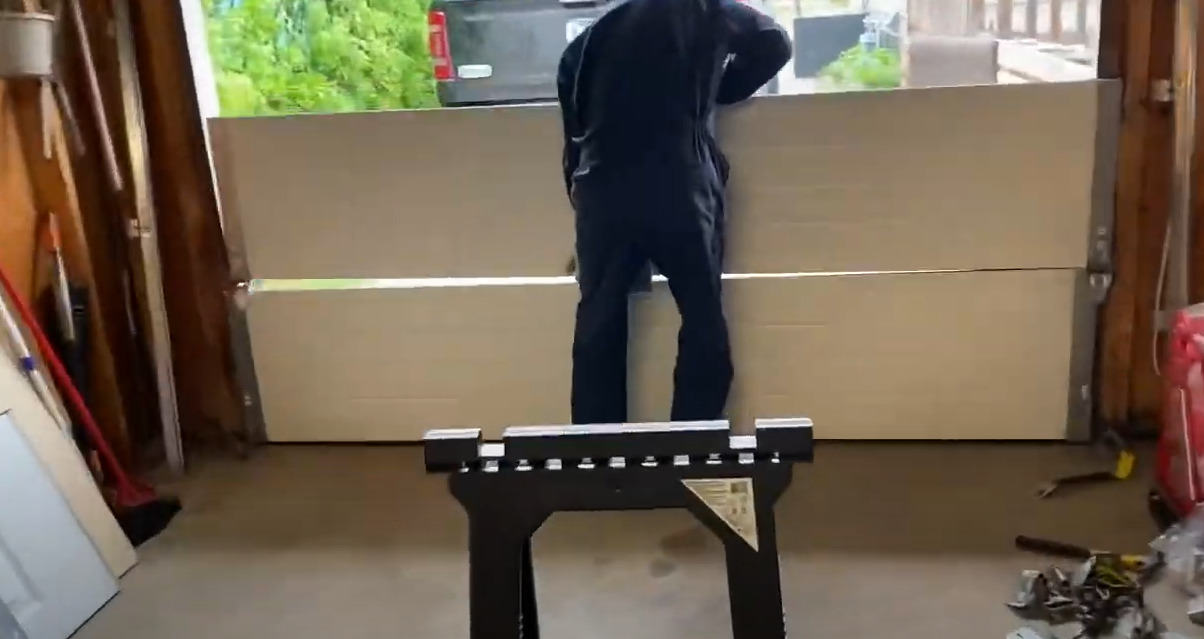
Removing the Old Garage Door
If you’re replacing an existing garage door, start by carefully detaching it. Disconnect the garage door opener, remove the springs, and then take down the door panels one by one. Work methodically and make sure all tension in the springs has been released to avoid injury.
Installing the New Tracks and Hardware
Begin mounting the vertical tracks on both sides of the garage door opening. Secure them with screws and a level to ensure they’re properly aligned. Attach the horizontal tracks next, ensuring they connect snugly with the vertical tracks. Finally, install rollers, hinges, and other hardware to keep the system functioning smoothly.
Mounting the Garage Door Opener
A garage door opener is what makes the entire system easy to use. Mount the opener securely on the ceiling following the manufacturer’s instructions. Connect it to the power outlet and the garage door itself. Test it several times to make sure it’s operating correctly.
Professional Help is Just a Call Away
Installing a garage door might seem straightforward, but precision and expertise are crucial for securing safety and functionality. A professional service not only saves time but ensures your door is set up for long-term use. When you need reliable service, Local Garage Door Repair Punta Gorda FL is here to help. Contact us for expert installation that you can trust.