
Simplify Garage Door Opener Installation Today
- COMMERCIAL GARAGE DOOR REPAIR
- GARAGE DOOR OPENER INSTALLATION
- GARAGE DOOR SPRING REPAIR
- SAME-DAY GARAGE DOOR REPAIR
- CUSTOM GARAGE DOOR
- GARAGE DOOR OPENER REPAIR
- GARAGE DOOR TRACK REPAIR
- GARAGE DOOR CABLE REPAIR
- GARAGE DOOR PANEL REPAIR
- LOCAL GARAGE DOOR REPAIR
- GARAGE DOOR REPLACEMENT
- NOISY GARAGE DOOR FIX
- GATE REPAIR
- GARAGE DOOR INSTALLATION
- GARAGE DOOR SECTION REPLACEMENT
- OVERHEAD GARAGE DOOR REPAIR
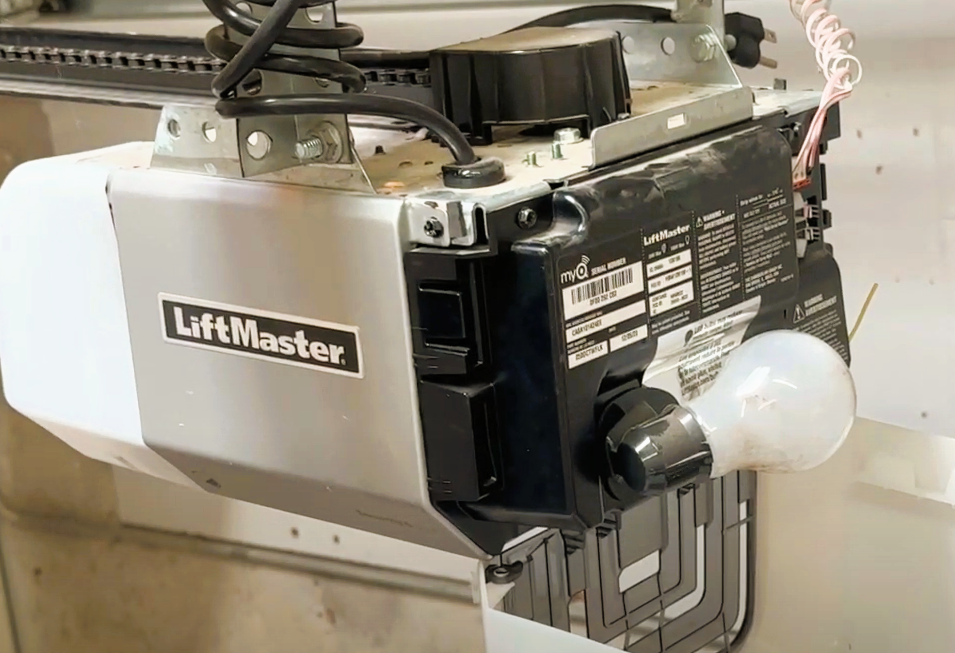
Simplify Garage Door Opener Installation Today
Installing a garage door opener might feel like a daunting task, but it’s easier than you think. Not only can tackling it on your own save you money, but it also gives you control over ensuring everything runs smoothly. Here’s how you can simplify the process with a clear and straightforward guide.
Preparing for Garage Door Opener Installation
Before you start, preparation is key to a smooth and successful install.
Gather Tools and Materials
To kick things off, you’ll need a few essential tools. Here’s a quick list to get you ready:
- Screwdrivers (flathead and Phillips-head)
- Adjustable wrench
- Power drill with drill bits
- Measuring tape and level
- Ladder
- Socket and ratchet set
- Step-by-step instruction manual included with your new opener
Safety Comes First
Garage door opener installation involves working with mechanical parts and electricity, so taking proper precautions is a must. Ensure the power source to the garage door is off before beginning. Wear safety goggles and gloves, and always use a sturdy ladder for accessing higher areas.
Step-by-Step Garage Door Opener Installation
Here’s a breakdown of the installation process to make your garage door opener operational in no time:
Removing the Old Opener (If Applicable)
If you have an existing garage door opener, remove it first. Detach the power supply, disconnect the opener from the garage door, and unscrew the mounting brackets carefully.
Assembling the New Opener
Most garage door openers come in parts. Lay out all components and assemble the opener according to the instructions in the manual. This will typically include putting together the rail and securing the motor unit.
Installing the Rail and Motor Unit
Position and attach the rail to the garage door’s header bracket. Lift the motor unit and mount it securely to the ceiling using the included hardware. Ensure that the rail remains aligned and level throughout this step.
Connecting the Door Arm
The door arm connects the garage door to the opener itself. Secure the door arm to the garage door and attach it to the trolley on the rail. Make sure everything is tight and properly aligned.
Wiring the Safety Sensors and Control Panel
Install the safety sensors on either side of the garage door near the floor. Wire these to the motor unit, ensuring that the sensors are aligned and the path is clear for proper operation. Mount the control panel on the wall, typically near the entry door, and connect it to the motor unit as well.